As you know, the NetXMS platform offers a great variety of functionalities, but sometimes, too many features can clutter the workspace. Today we will explore how to streamline your NetXMS UI for a more efficient workflow.
Customizing Tabs for Relevance
One of the first steps in enhancing usability involves managing your tabs. NetXMS comes with many tabs, but not all are necessary for every user.
For instance, if you focus on monitoring switches and routers, tabs like the file manager may be redundant. You can hide these unnecessary tabs, making your interface cleaner and more relevant.
To hide a tab:
- Navigate to the tab you want to hide.
- Use the menu to disable it.
- The tab will now be hidden for all objects.
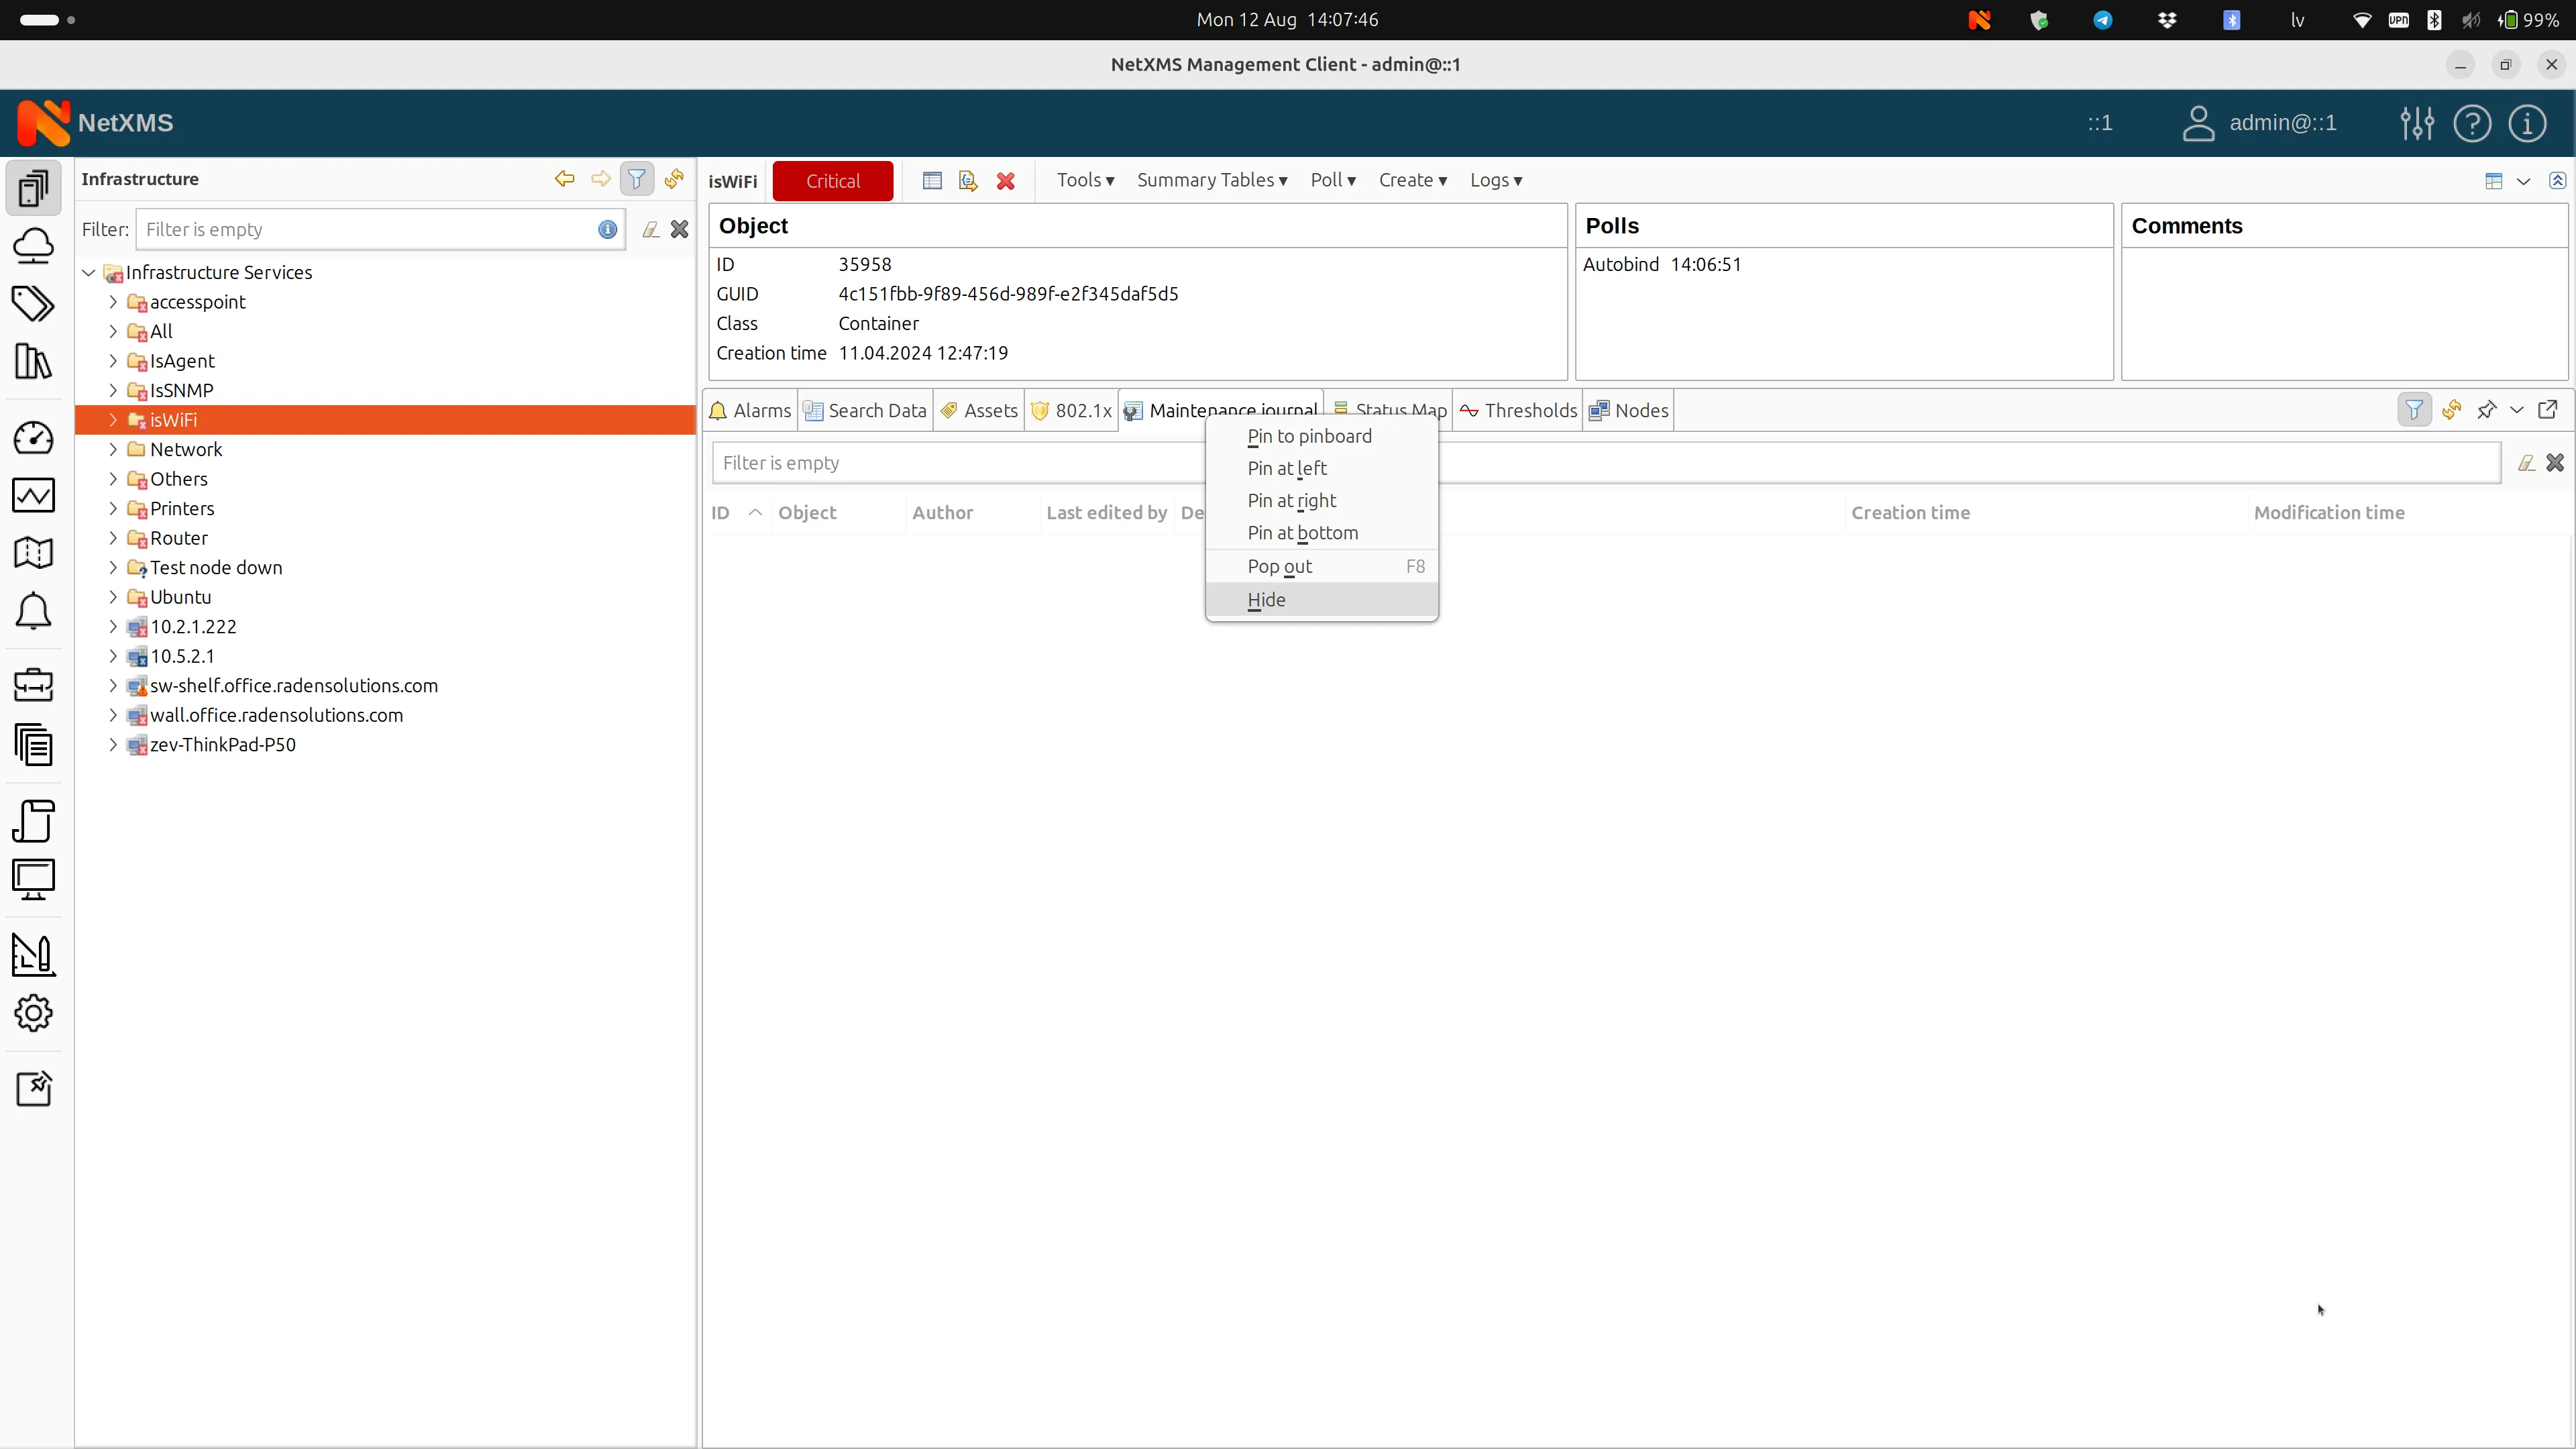
If you need to bring back a hidden tab, you can easily re-enable it from the same menu. Here you can see all hidden tabs that are available for the current objects.
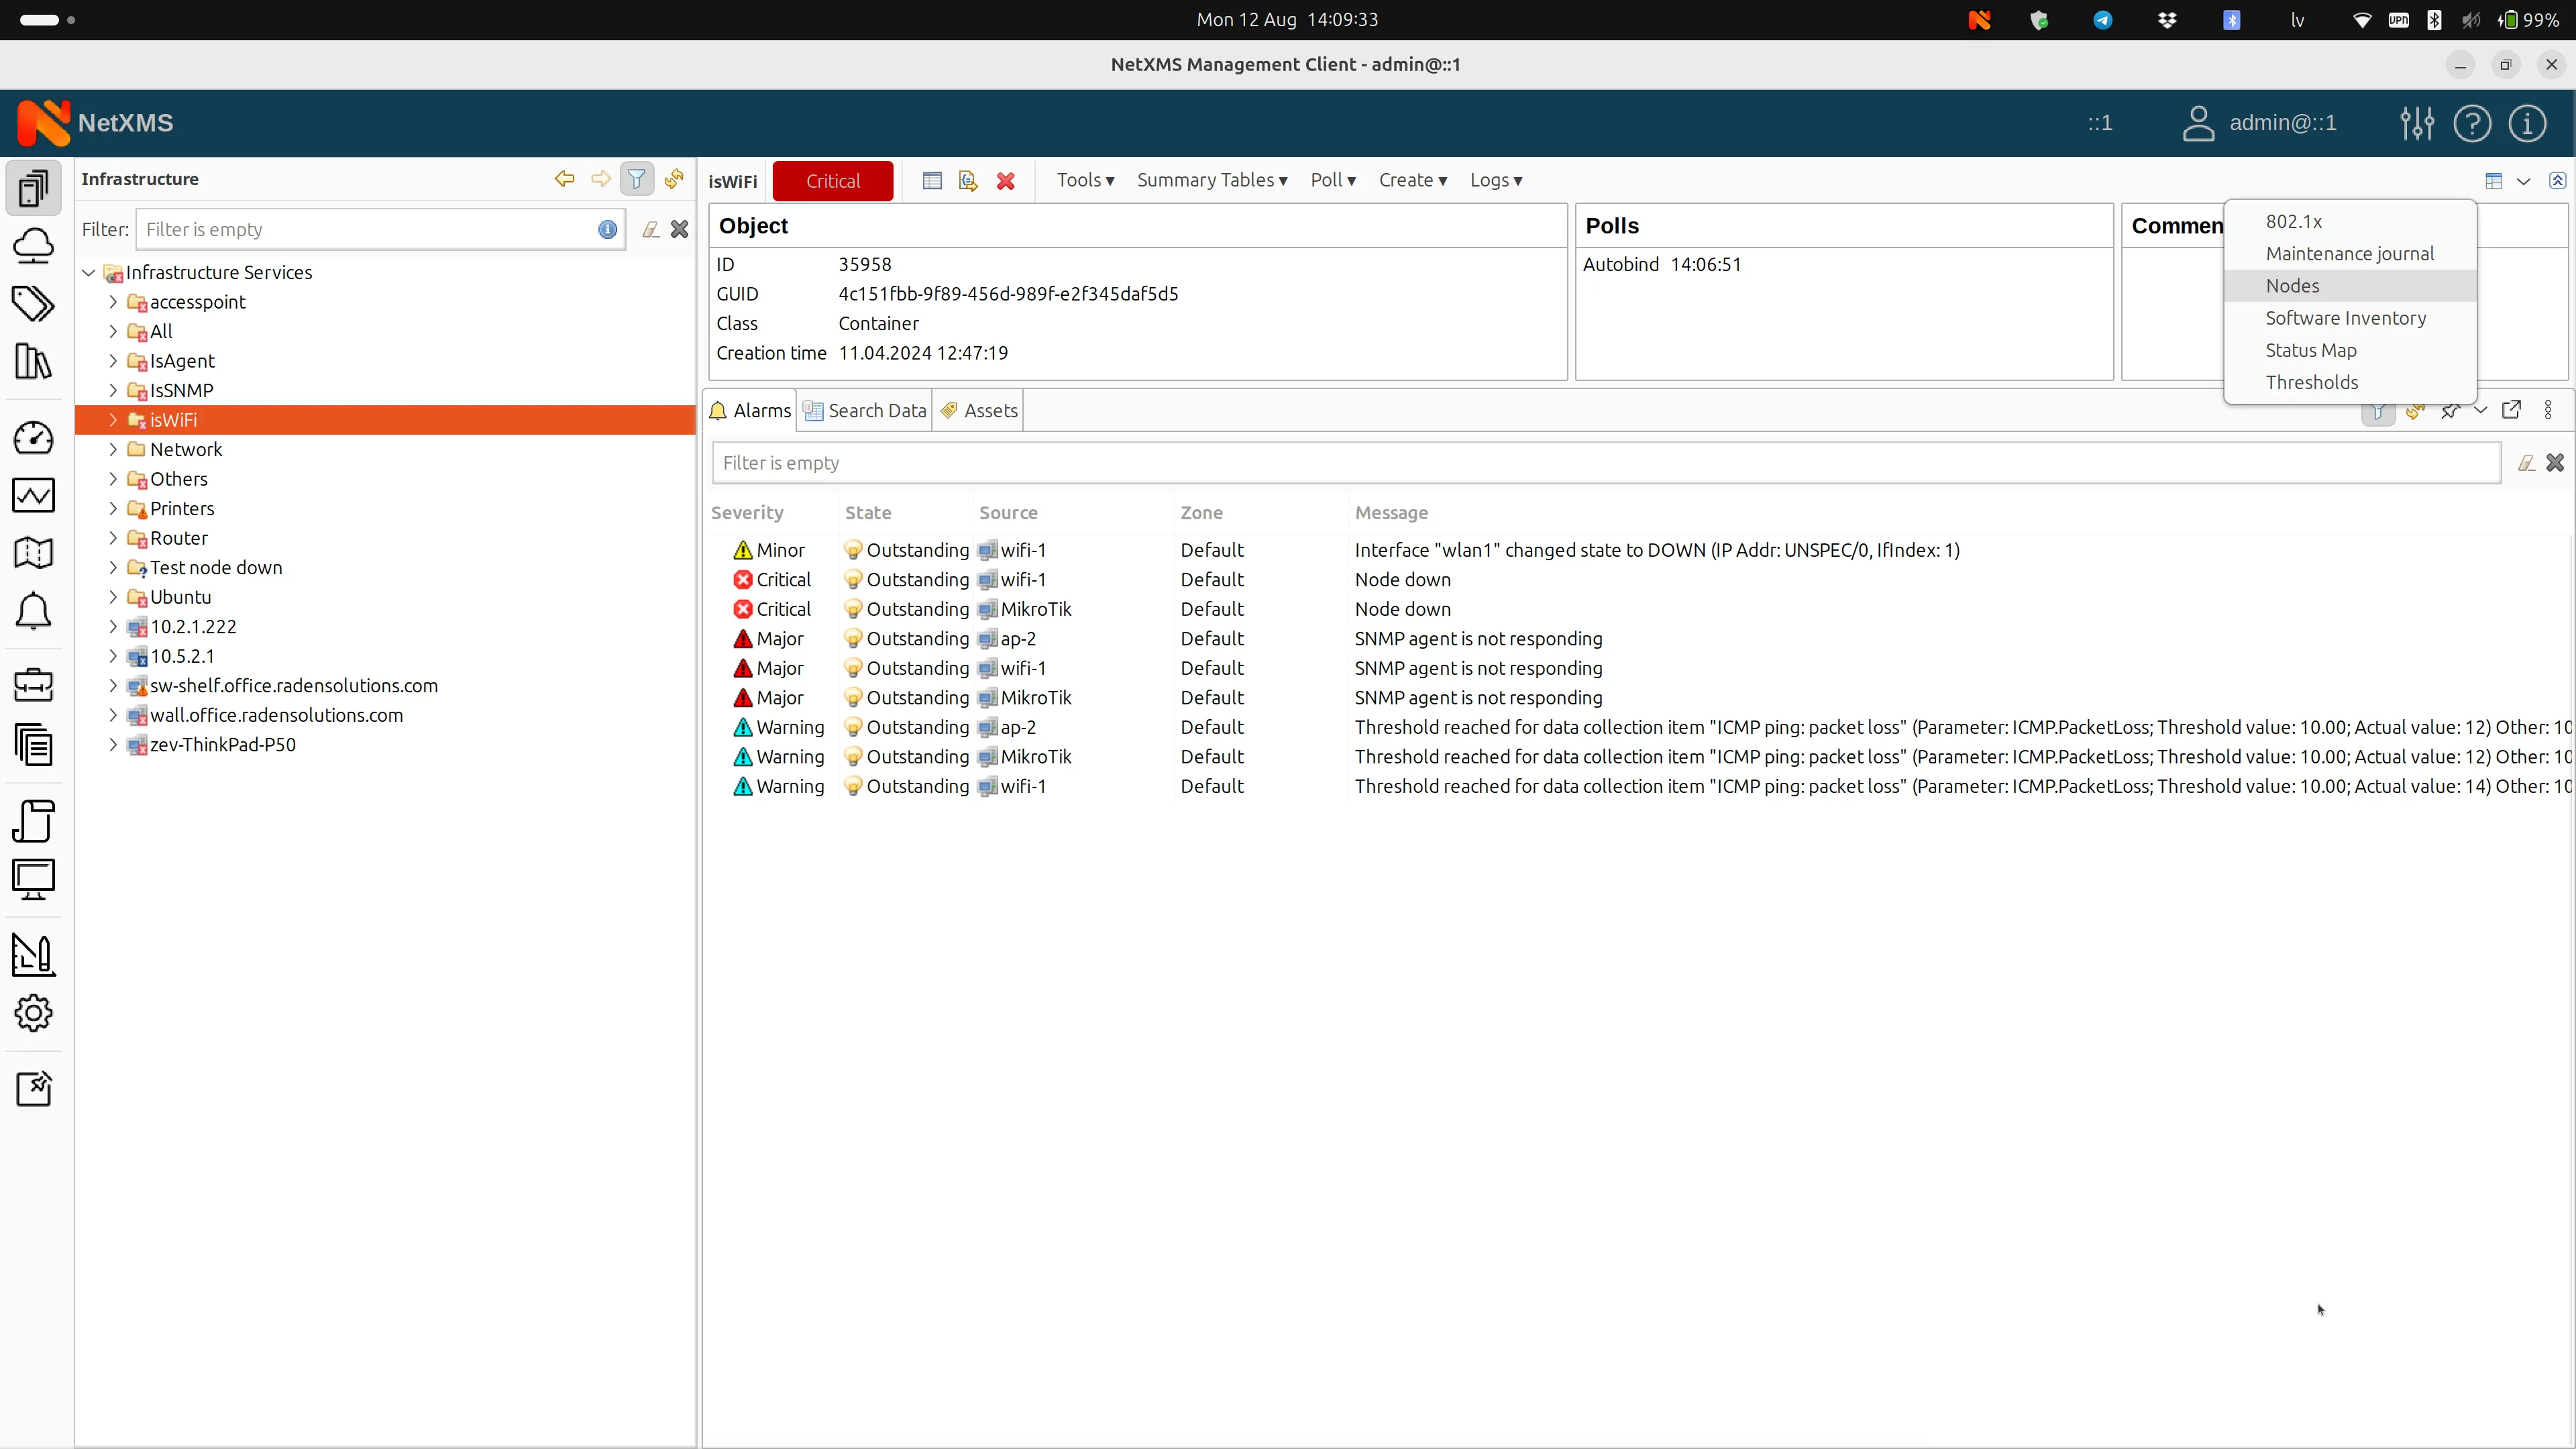
This flexibility allows you to customize your workspace according to your current needs.
Managing User Visibility
Another crucial aspect of enhancing usability involves managing what different users can see. This is not about security but about visibility.
For example, you might have users on your team who do not need to see Business Services or Reporting perspectives in NetXMS.
Creating a User without Reporting Perspective
First let’s create a new user:
- Go to the user and group configuration.
- Create a new user.
- Add the user to nested group (the admin group in our case for full access).
By default, the “Everyone” group sees all the UI elements. We have a star here, as it is a special symbol that means that the users should see all the UI elements. All users are always under “Everyone” group, so our newly created user is there as well. This means newly created user can see everything.
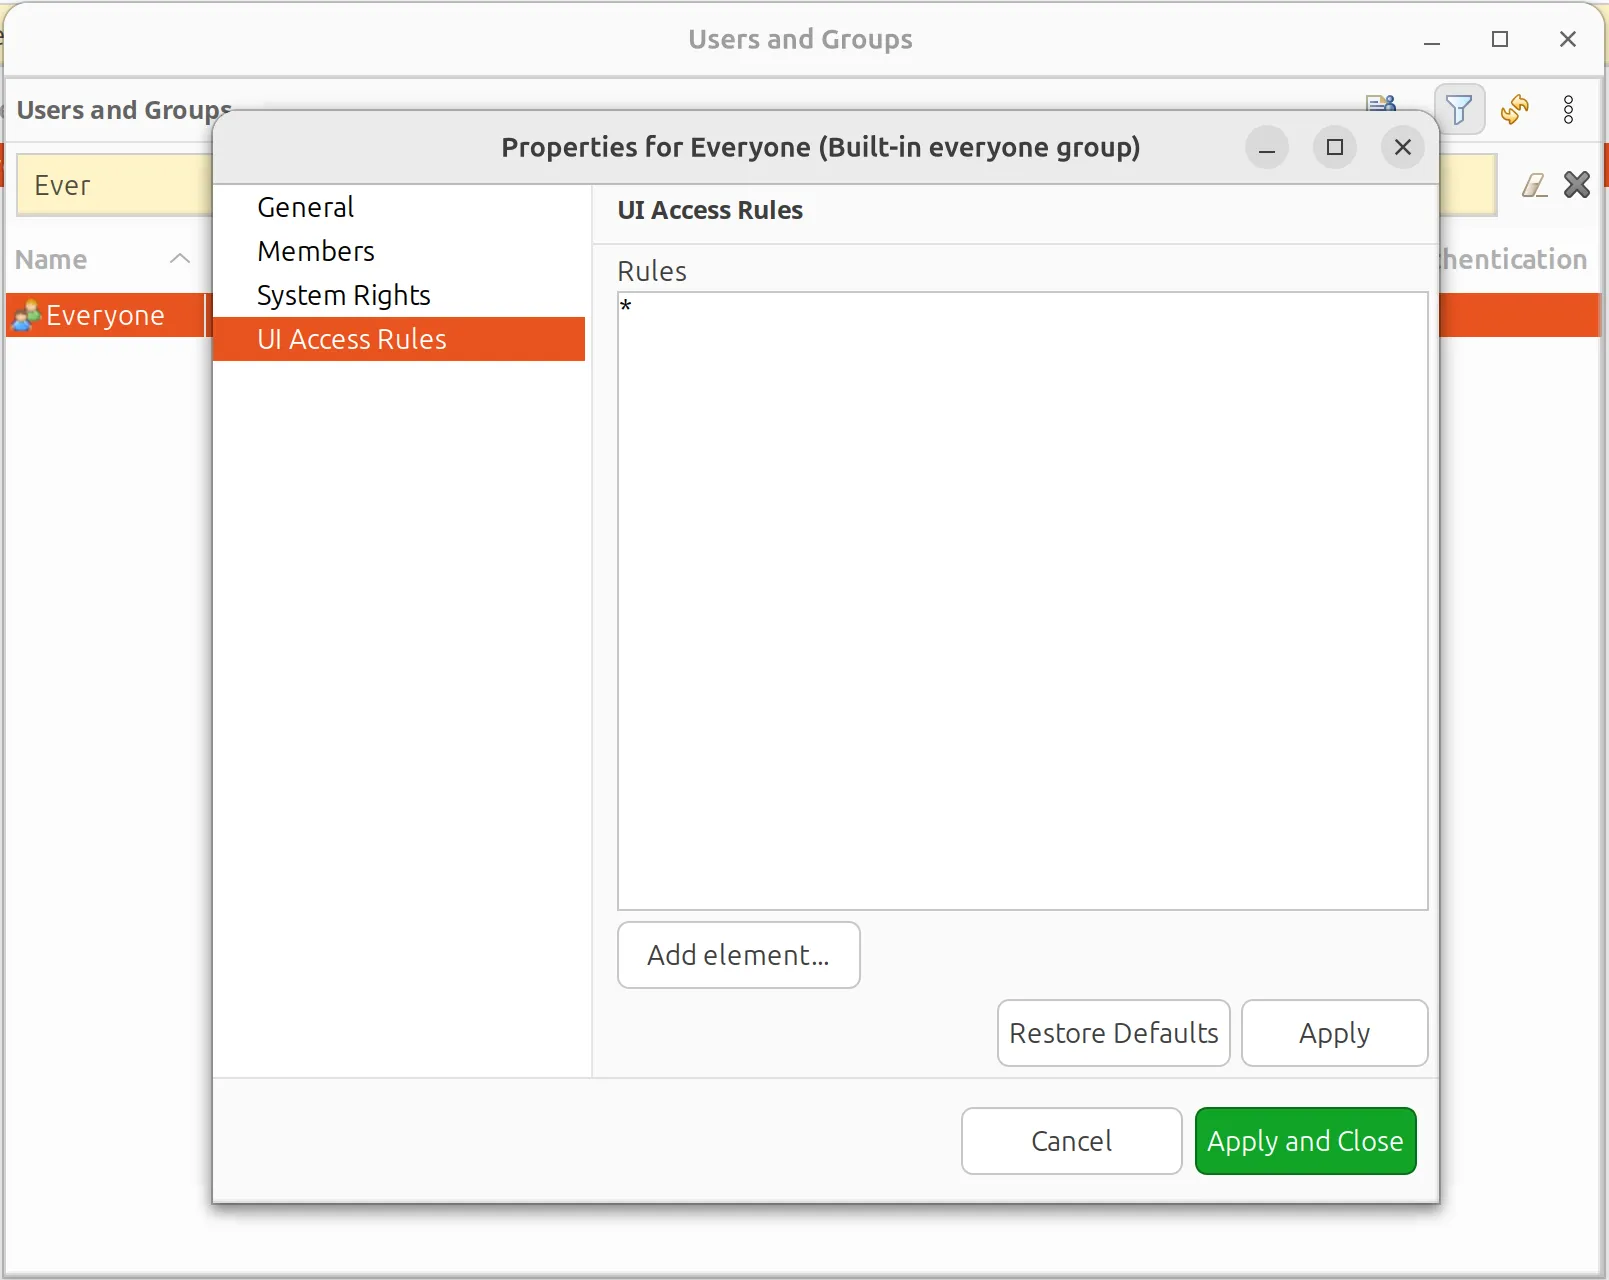
To restrict this, we should now specify which elements to exclude, such as Business Services and Reporting in our example. You can use exclamantion mark to exclude views.
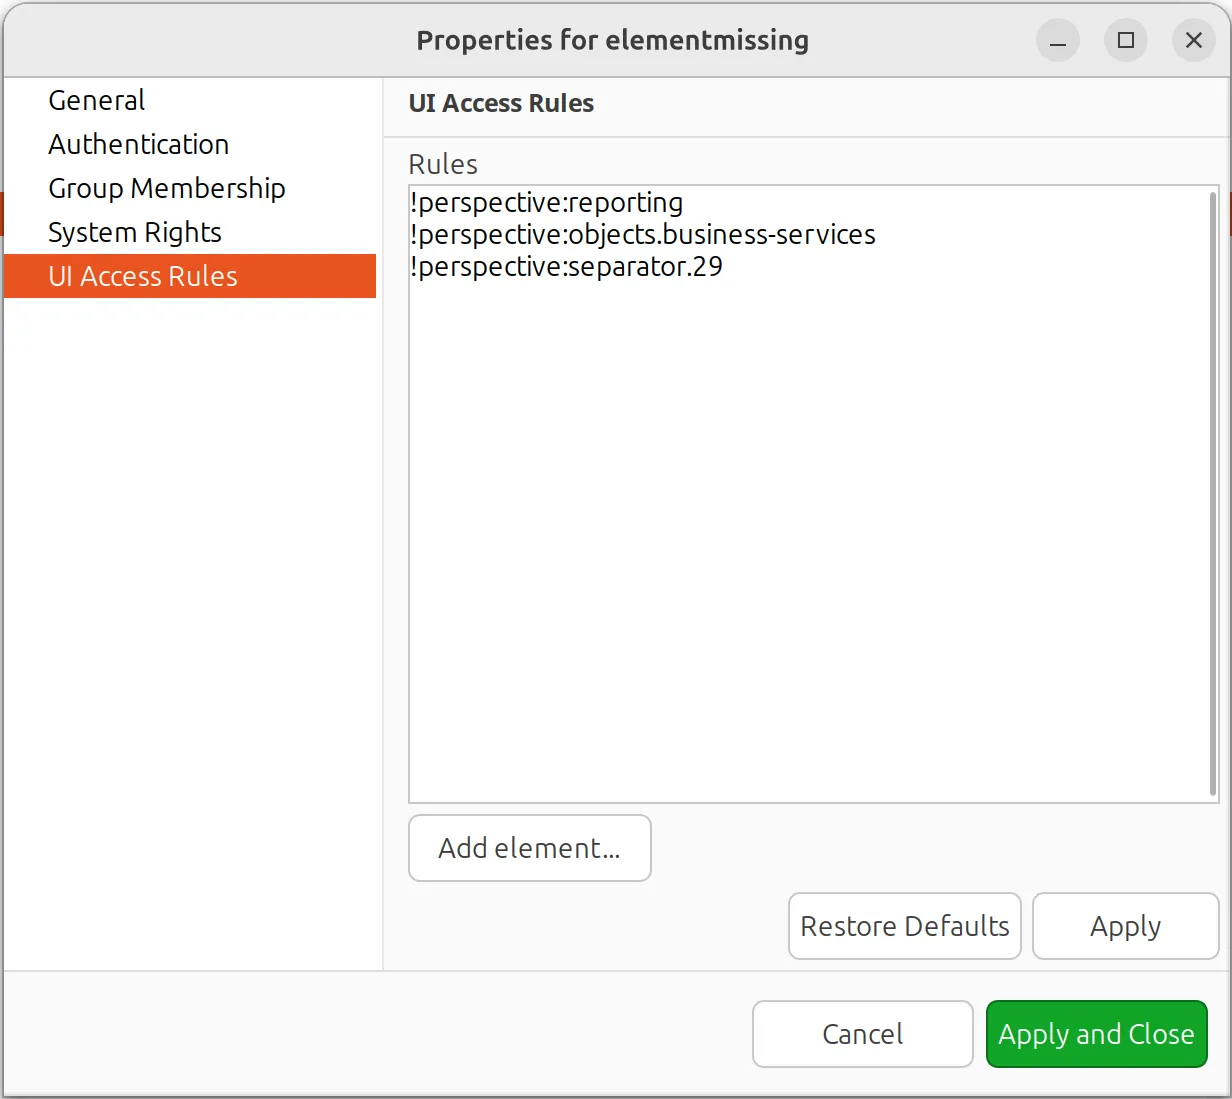
NetXMS’s access rules hierarchy follows a specific sequence: it includes elements by designation first, then applies exclusions. If an element is excluded, the user cannot view it.
Note, that the rule is then processed in the following priority:
- Included views
- Excluded views (Views with an “!” before their name)
- Force included views (Views with a “^” before their name)
Tailor the UI to show only what is necessary for each user.
Creating a Dashboard-Only User
Sometimes, you need to create a NetXMS user who only views dashboards and does not modify any data.
Here’s how you can now create such a user:
-
Go to the chosen User and its group configuration.
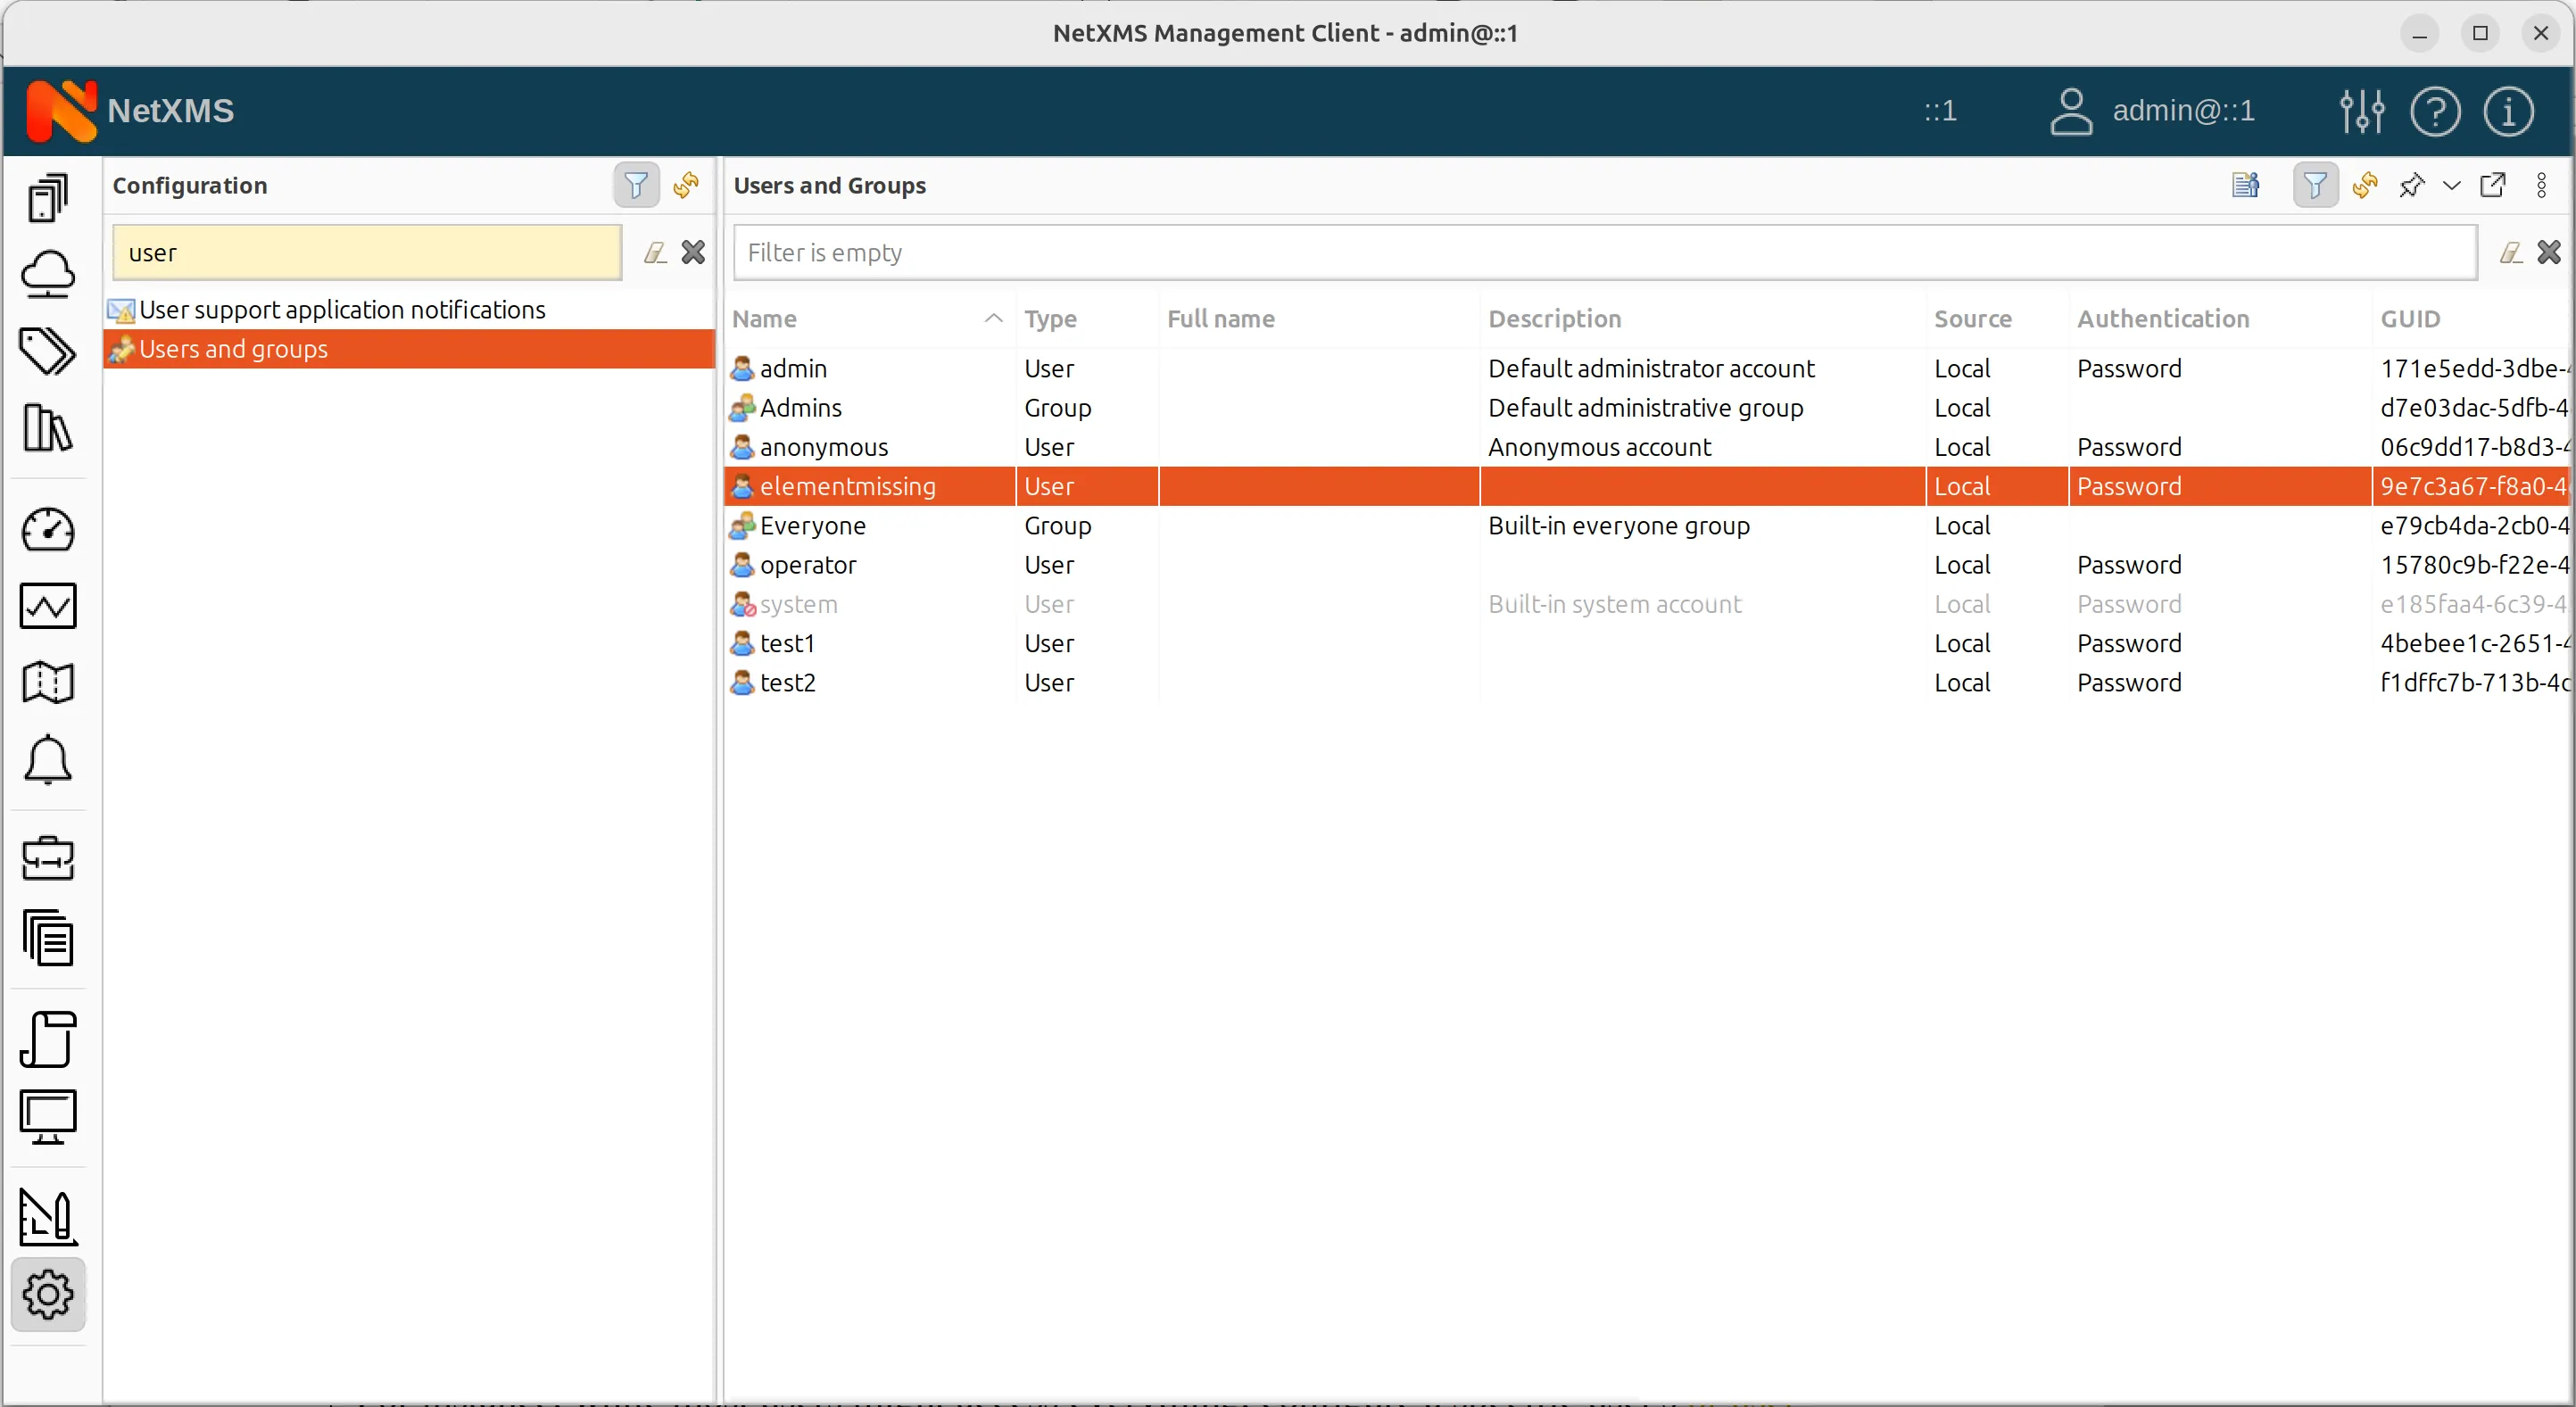
Users and Groups in configuration perspective of NetXMS -
Create a new user.
-
Add the user to nested groupe (the admin group in our case for full access).
-
In the access rules, exclude all elements.
-
Add an exception for dashboard perspective and view.
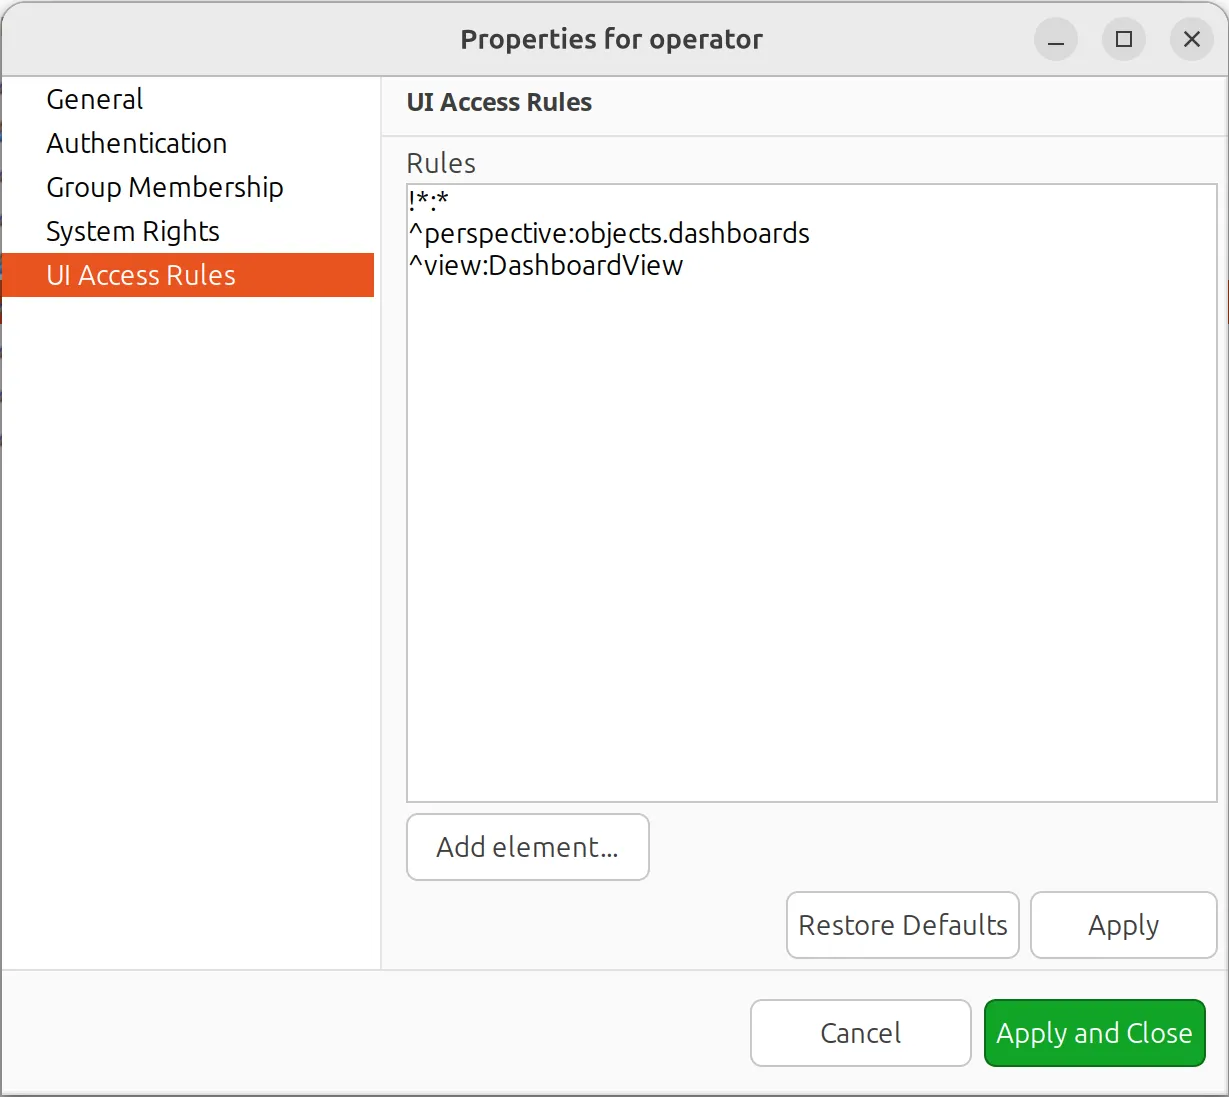
So in this example after applying exclusions, re-include specific elements to override them. This layered approach allows flexibility.
For instance, while most users might access everything, configure a specific user’s or user group view to display only the dashboards.
This method ensures the user sees only what you intend, making the UI less cluttered and more focused.
Streamlining your NetXMS UI can significantly enhance usability. By customizing tabs and managing user visibility, you can create a more efficient and user-friendly environment.
NB: Remember, these changes affect visibility, not security. Users can still perform actions through the API or other ways.

